This post may contain affiliate links. I get commissions for purchases made through these links.
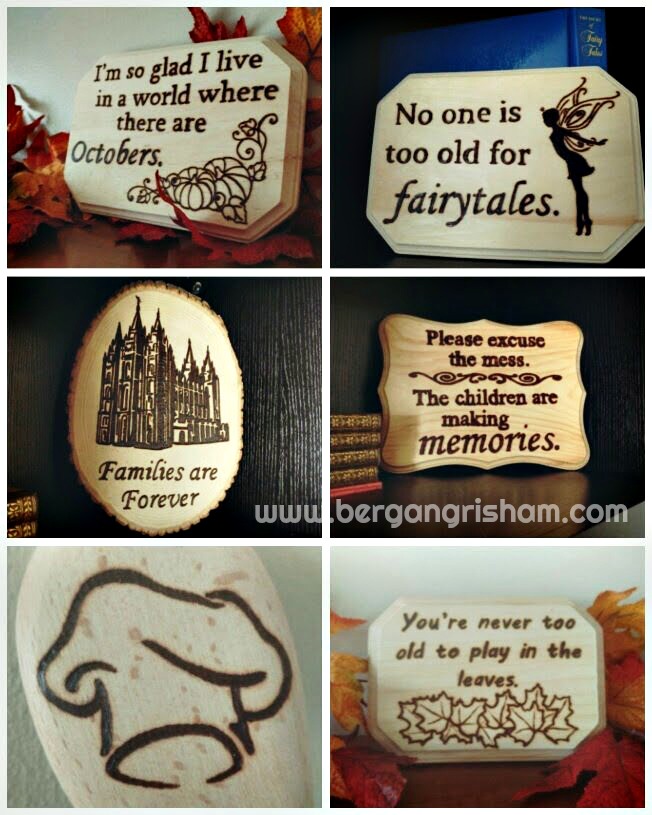
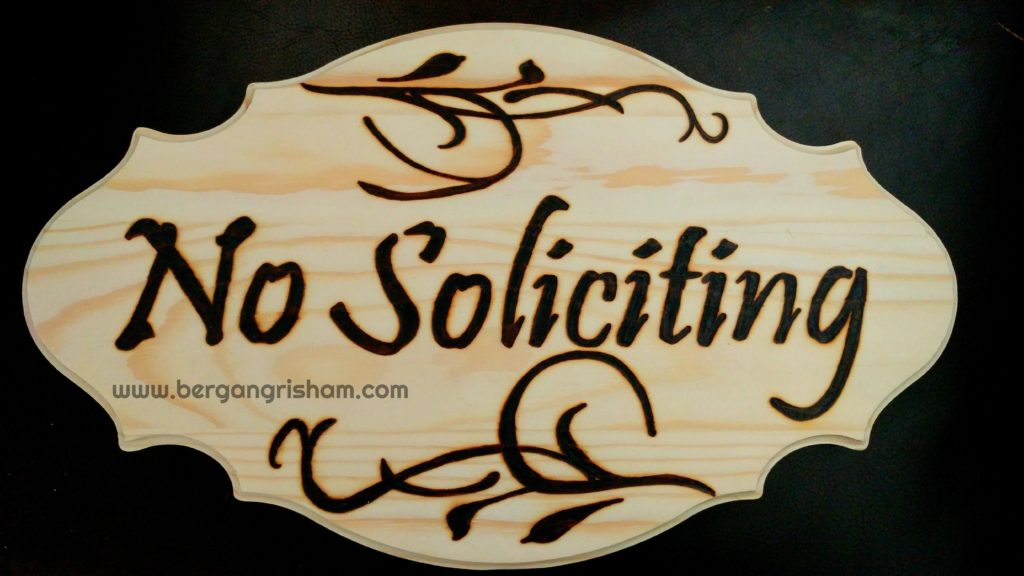
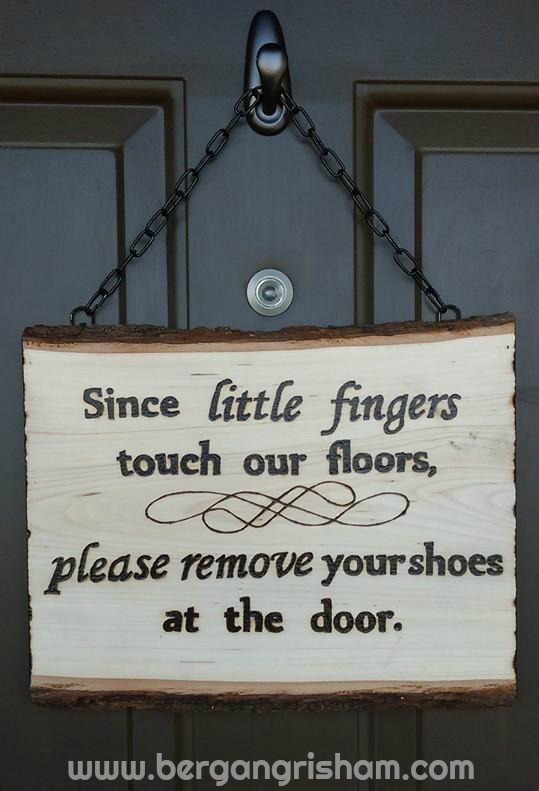
Woodburning… who knew it was so much fun!? I kind of got into it by accident. A few years ago I decided we needed a “no shoes” sign for our front door, and for some crazy reason, my husband and I decided to make one ourselves.
He had actually woodburned a pair of pointe shoes on a clock for me when we were dating, so he burned our first sign. After that, I started experimenting more and more. I have learned so much! My first attempts weren’t awesome. Plus, I’ve seriously improved my methods. Seriously.
There are a couple of basic things you need:
- A piece of wood like this or this
- Sand paper or a sanding sponge
- A burning pen
- Paper, ink, a printer, etc.
- Scissors
- Tape
- A ball point pen
And a couple of optional things you could use:
Step 1
- Sand your piece of wood. Smooth out any nicks and pay special attention to the edges and grooves.
Step 2
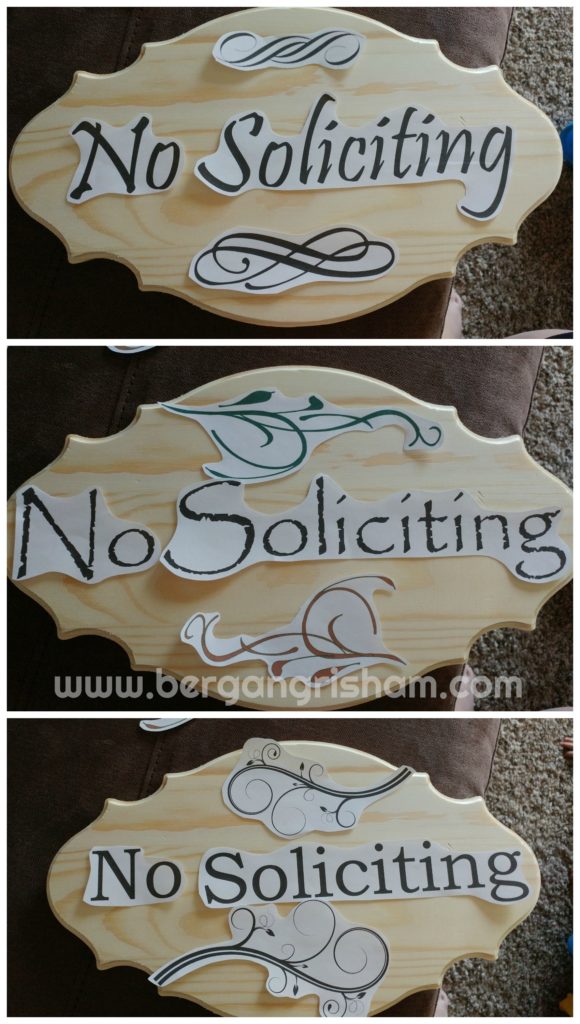
- Decide what you want on your sign. Play around with the font. Try out different images and sizes. Silhouettes are especially fun for woodburning!
- Note: You may need to reprint several times to get just the right sizes… use black and white, low quality prints to save ink.
Step 3
- Once you’ve picked the images and wording you want in the sizes you want, organize everything where you want it. You may want to use a ruler to get everything straight and centered.
Step 4:
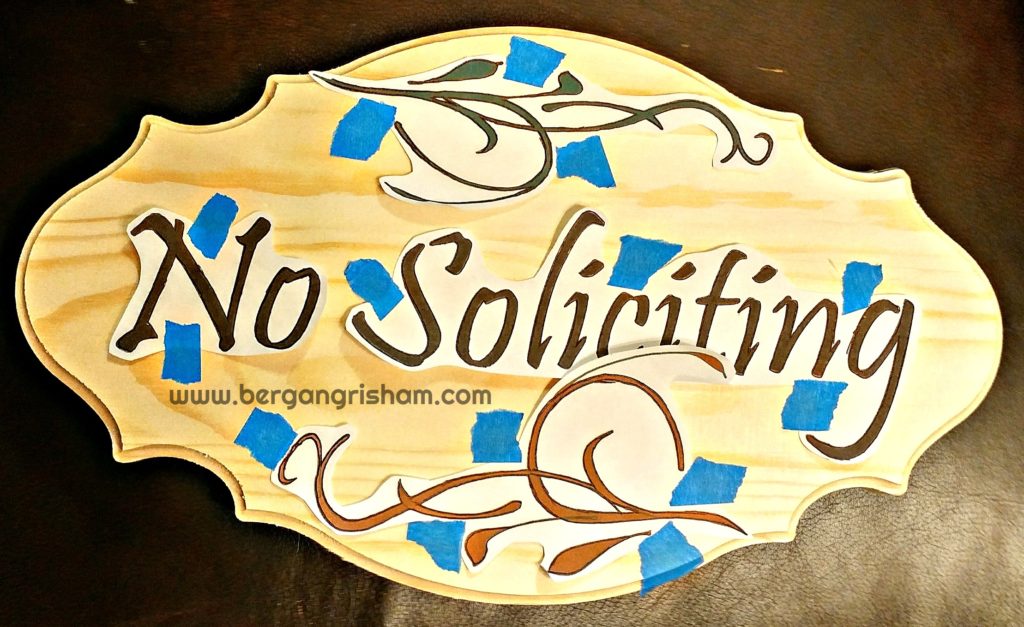
- Now it’s time to tape everything down. I like to use blue tape because it comes off the wood easily.
- Note: place the tape so it is not covering anything you want traced onto your wood.
Step 5:
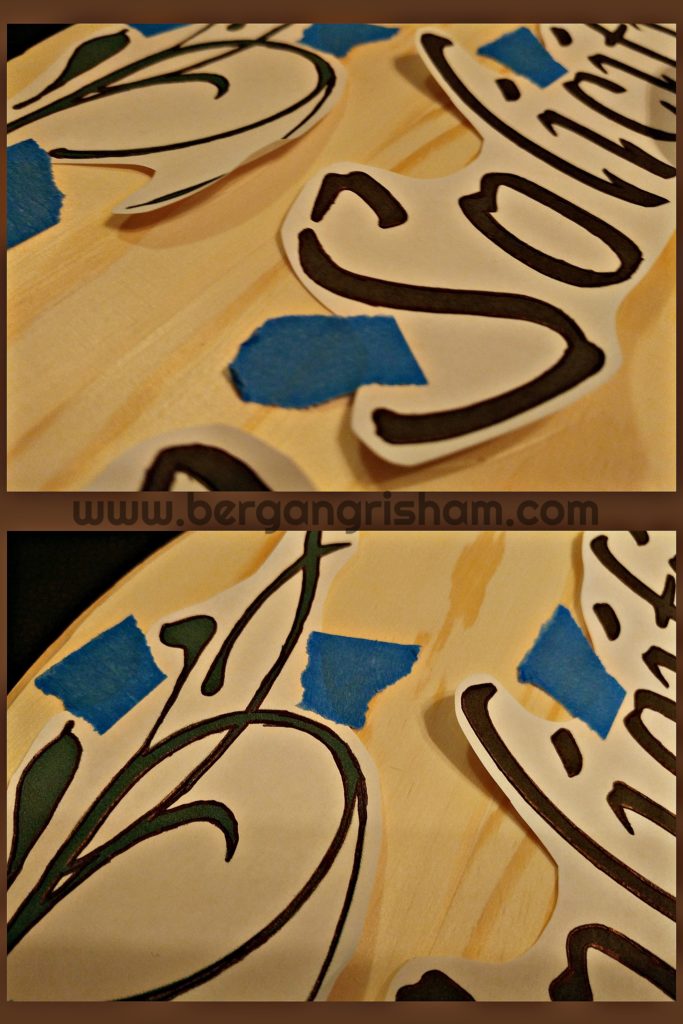
- Use a ball point pen to trace the edges of everything you want burned. Depending on how hard or soft your wood is, you may need to press down pretty hard. After the first line or two you trace, lift up the edge of the paper to make sure you can see the indent.
- Side note: This is the thing that has changed the most as I’ve learned. I had the hardest time figuring out how to get the image onto the wood my first few tries. In fact, I spent over a week cutting each individual letter and tracing each letter onto the wood with a pencil once. Needless to say, nothing was quite straight and I hated that process. I LOVE that I can trace the paper with a pen and move on to the fun stuff!
Step 6:
- Start burning! Now, there are also a few things I have learned here:
- Take off one piece of paper at a time. I like to keep that one word or image close by to make sure I got all the lines right when I traced it. I also like to see how the whole sign will look as I finish each part.
- Experiment with
different tips. There are so many options, and at first I tried switching back and forth. I have found that I can do everything I want to do with one tip. Without having to use pliers to take hot tips off and wait for new tips to warm up. My favorite tip is the one that is rounded on the end. Simple and so useful.
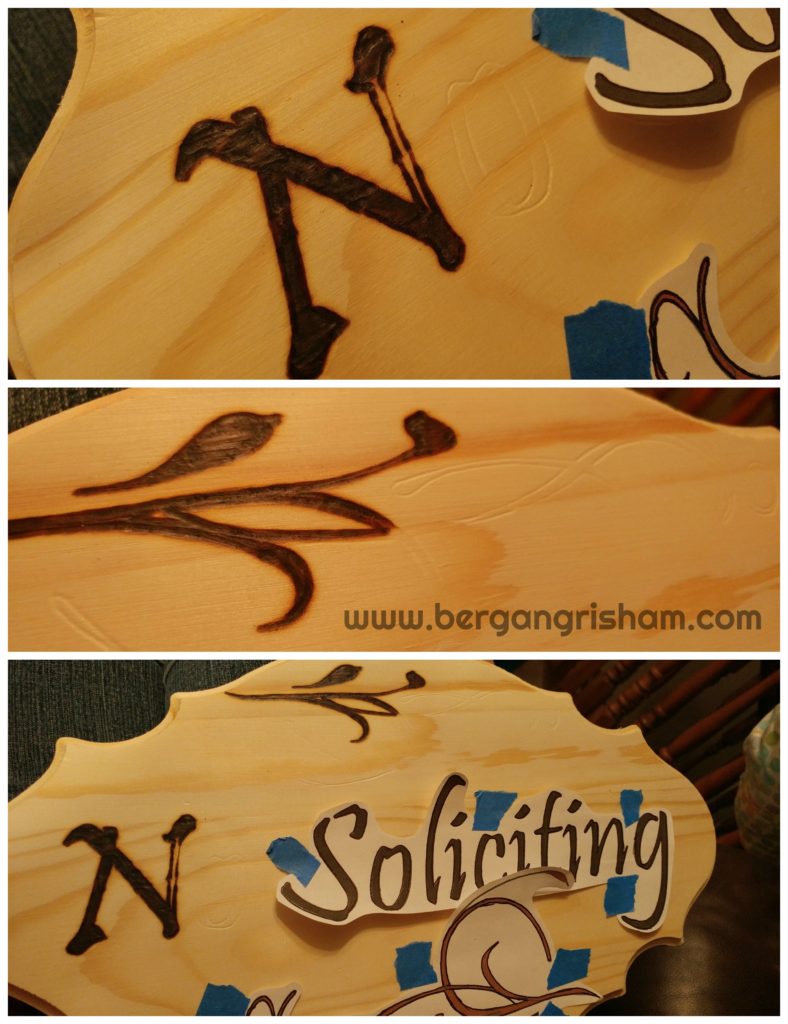
- Outline and then fill in. I remember learning to outline pictures in crayon in kindergarten. Same thing here. Burn along the indents you made first. Get the lines as straight and clean cut as you can before filling the shapes in.
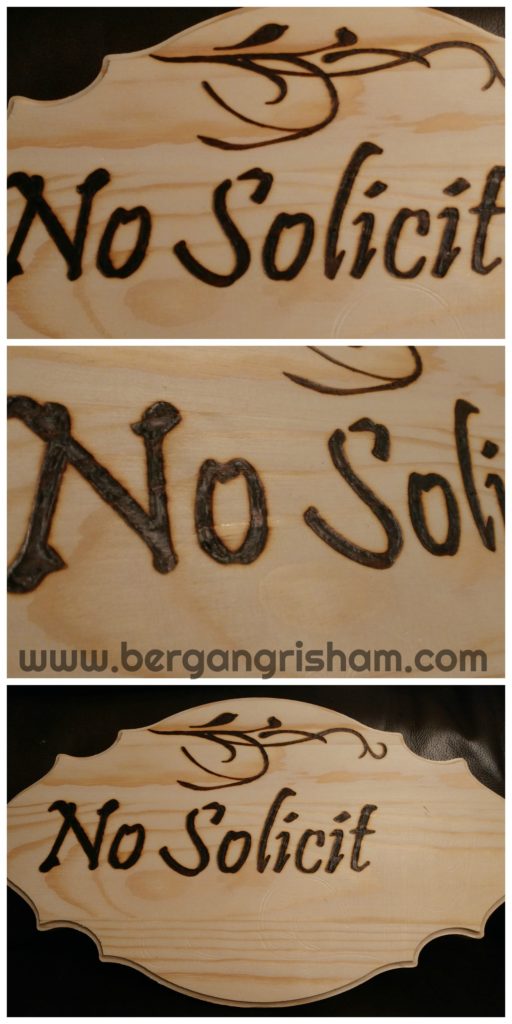
- Go with the woodgrain. This is huge. You will get much cleaner lines and more evenly filled in shapes this way. When you outline, you may have to go opposite the grain. As you can see in the picture below, the burning pen may get stuck in one spot and leave dots outside the lines. It is kind of inevitable, but it is good to be aware and go with the grain when you can.
- Rotate the burning pen regularly. I’ve noticed when I burn for a while, the pen starts to get less effective. This is because when you continually use the same part of the tip, it starts to lose some of its heat. If you turn the pen in your hand every once in a while so different parts of the tip are touching the wood, it will make things go much smoother.
- An extension cord is useful for getting the burning pen to reach far enough and get the angles you want.
Step 7:
- Touch up. I try to do my best the first time around, but I also like to go back through and smooth out any lines or darken any lighter spots. This gives the sign a more finished look.
Optional Steps:
- If you plan to hang your sign outside, a clear coat may be a good idea. You may also just like the shiny, finished look.
- There are lots of ways to hang your sign outside. I have found I like single hole d-ring hangers and black chain.
- If you would like to hang your sign inside, sawtooth hooks are awesome and inexpensive.
There are SO many options available to you when you learn to woodburn. I love doing signs and have even done a few wooden spoons. In fact, I have an Etsy shop called Wordy Woodworks where I sell things I have burned. Feel free to check it out! I’m also open to custom orders. Just send me a message and I’ll see what I can do!
